How to Flash Tasmota to a Sonoff S31 With no Soldering
Contents
If you buy something from a link, Acorn Talk may earn a commission. See my Affiliate Programs statement.
Most instructions for flashing the Tasmota firmware to a Sonoff S31 wifi smart plug include a step of temporarily soldering some wires to the S31. No thanks. While I can probably manage it, they’re small solder pads and I didn’t want to mess up a brand new S31 with a botched solder attempt.
Here’s a way that involves a few small purchases that you can use in other projects and future S31s you may purchase.
Exposing the Internals
First, disassemble the S31 by using either a small blade flat-head screw driver, your stronger than mine finger nails (ouch), or something like the iFixit Jimmy. I used the Jimmy for many projects and use it often. It’s a no fuss simple way of gently prying open electronics. A thin screw driver may work as well, but be careful or you may damage the case.
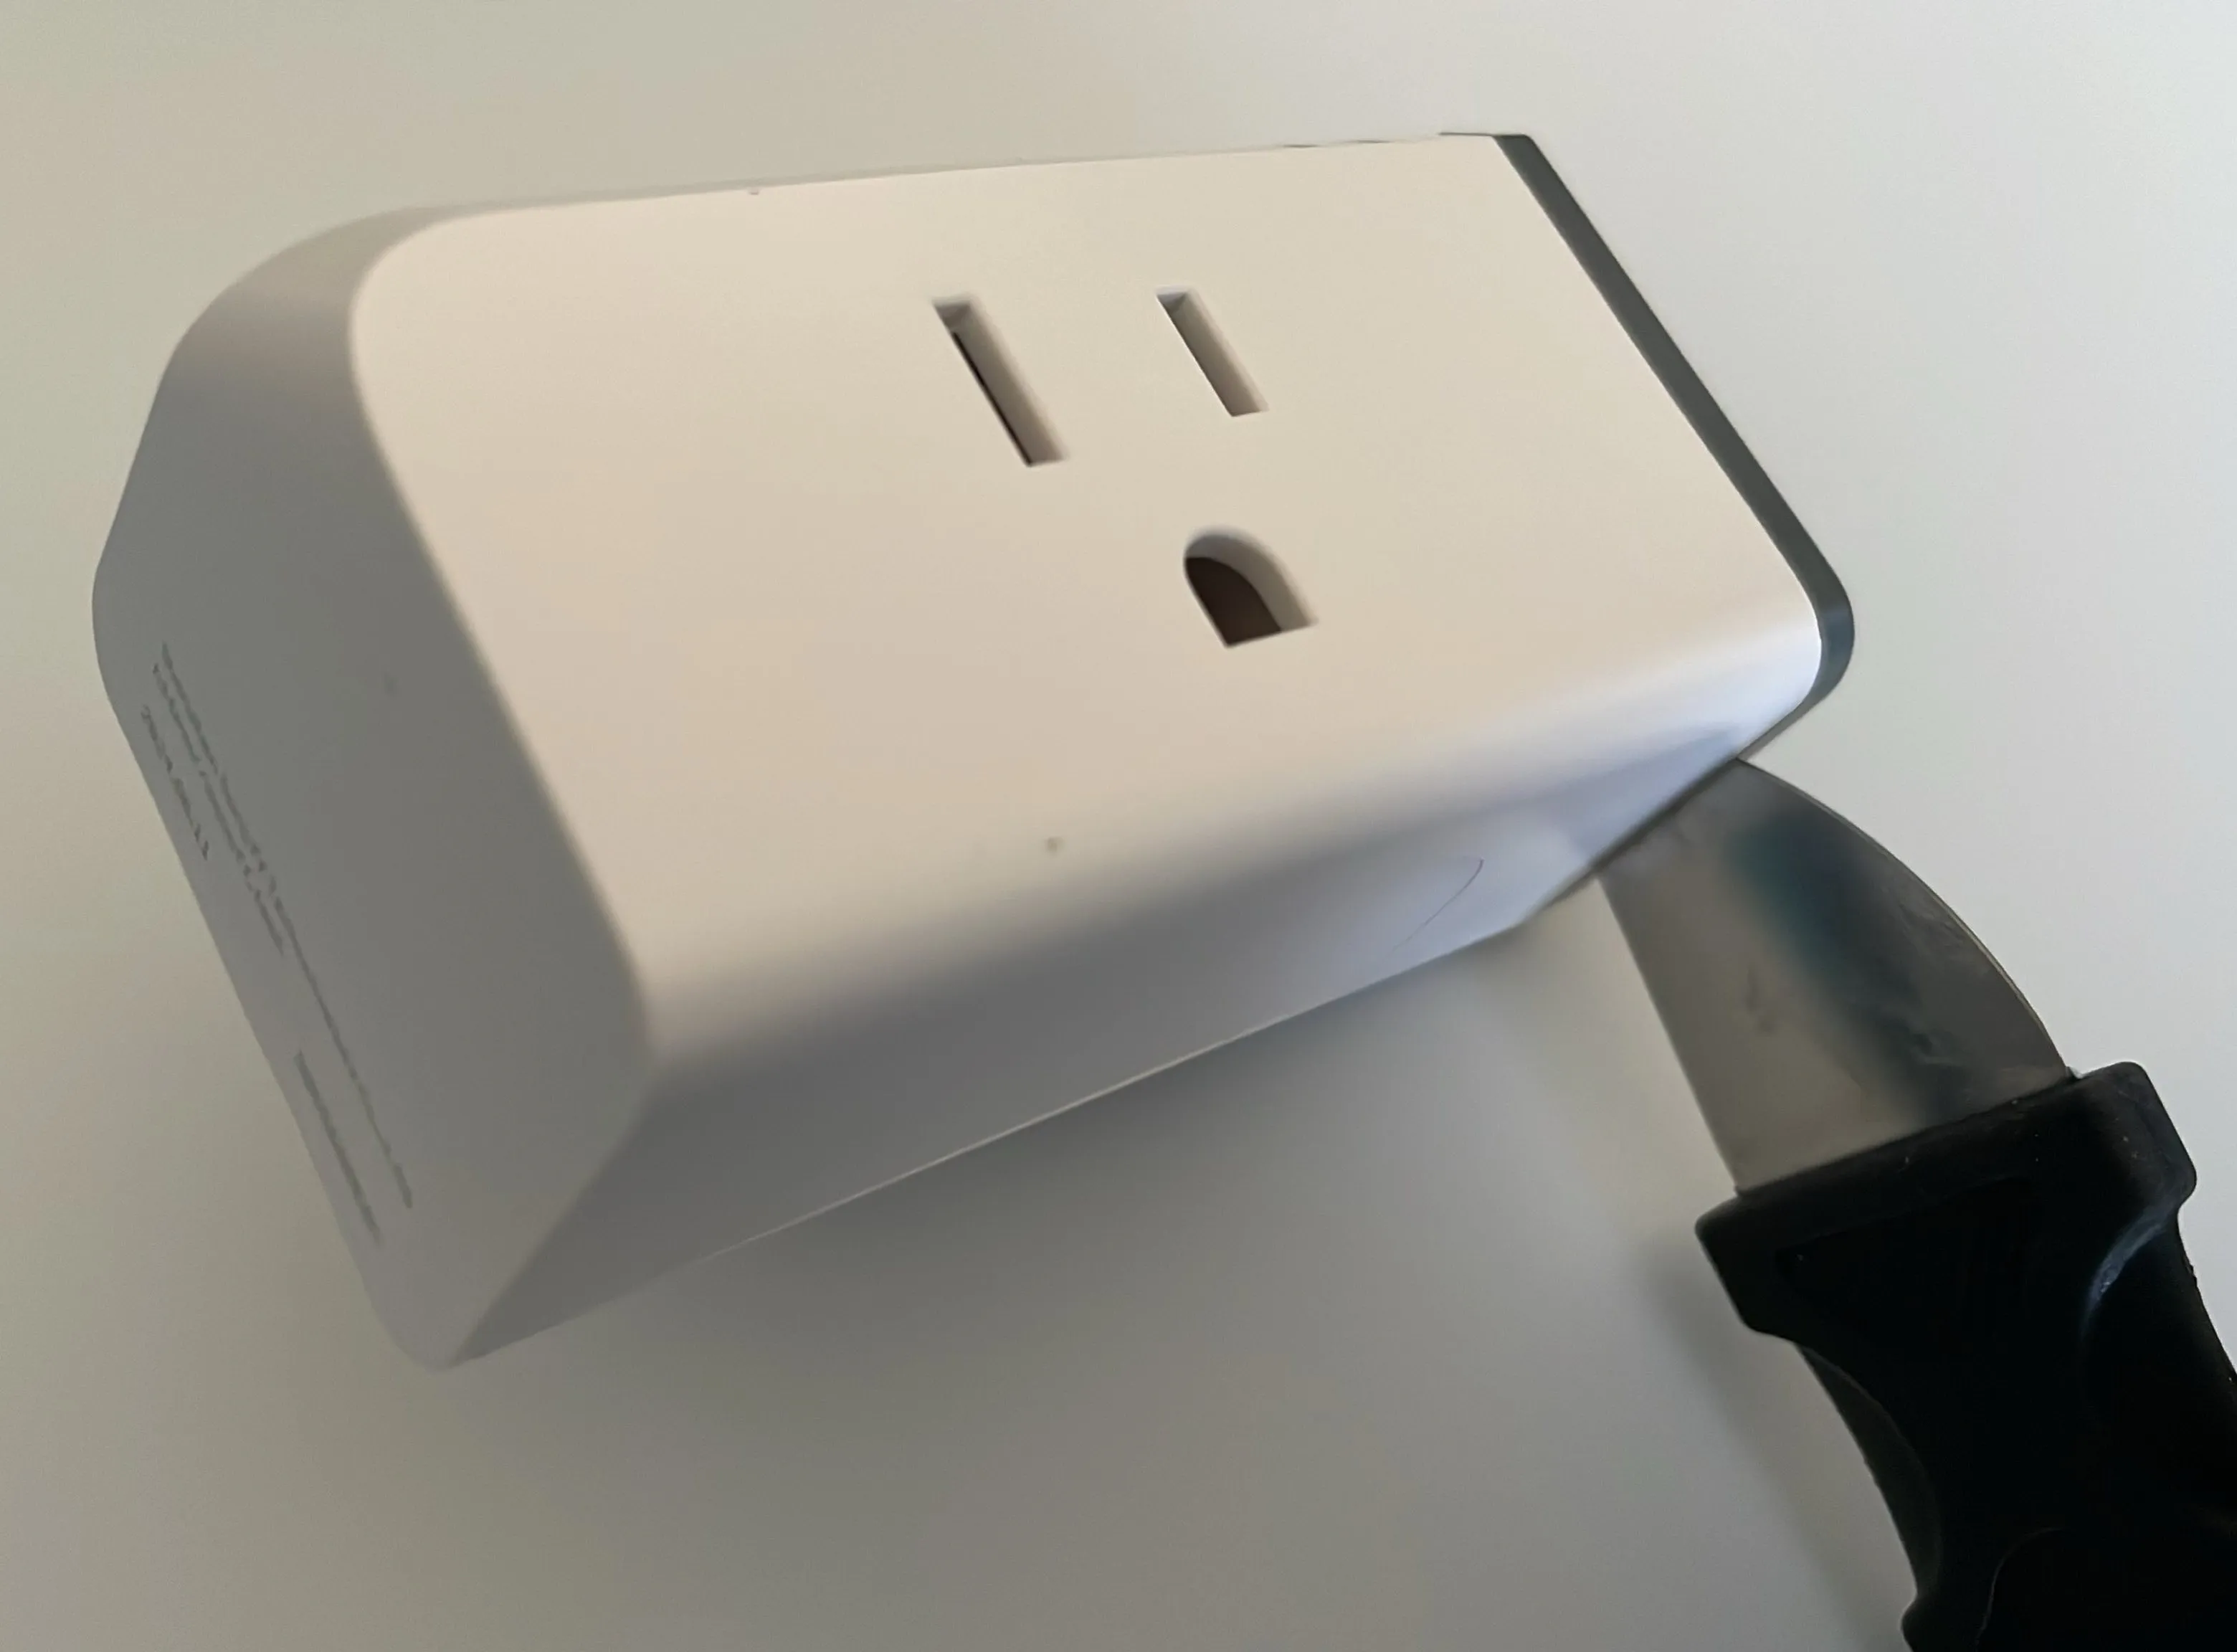
UNTIL YOU HAVE COMPLETED ALL STEPS AND REASSEMBLED THE SMART PLUG, THE SMART PLUG MUST NOT BE CONNECTED TO MAIN ELECTRICITY (like 120V). DO NOT PLUG IT IN UNTIL THE PROCESS IS COMPLETE AND EVERYTHING IS SNAPPED BACK TOGETHER. SERIOUSLY. AMPS CAN KILL.
After some careful prying:
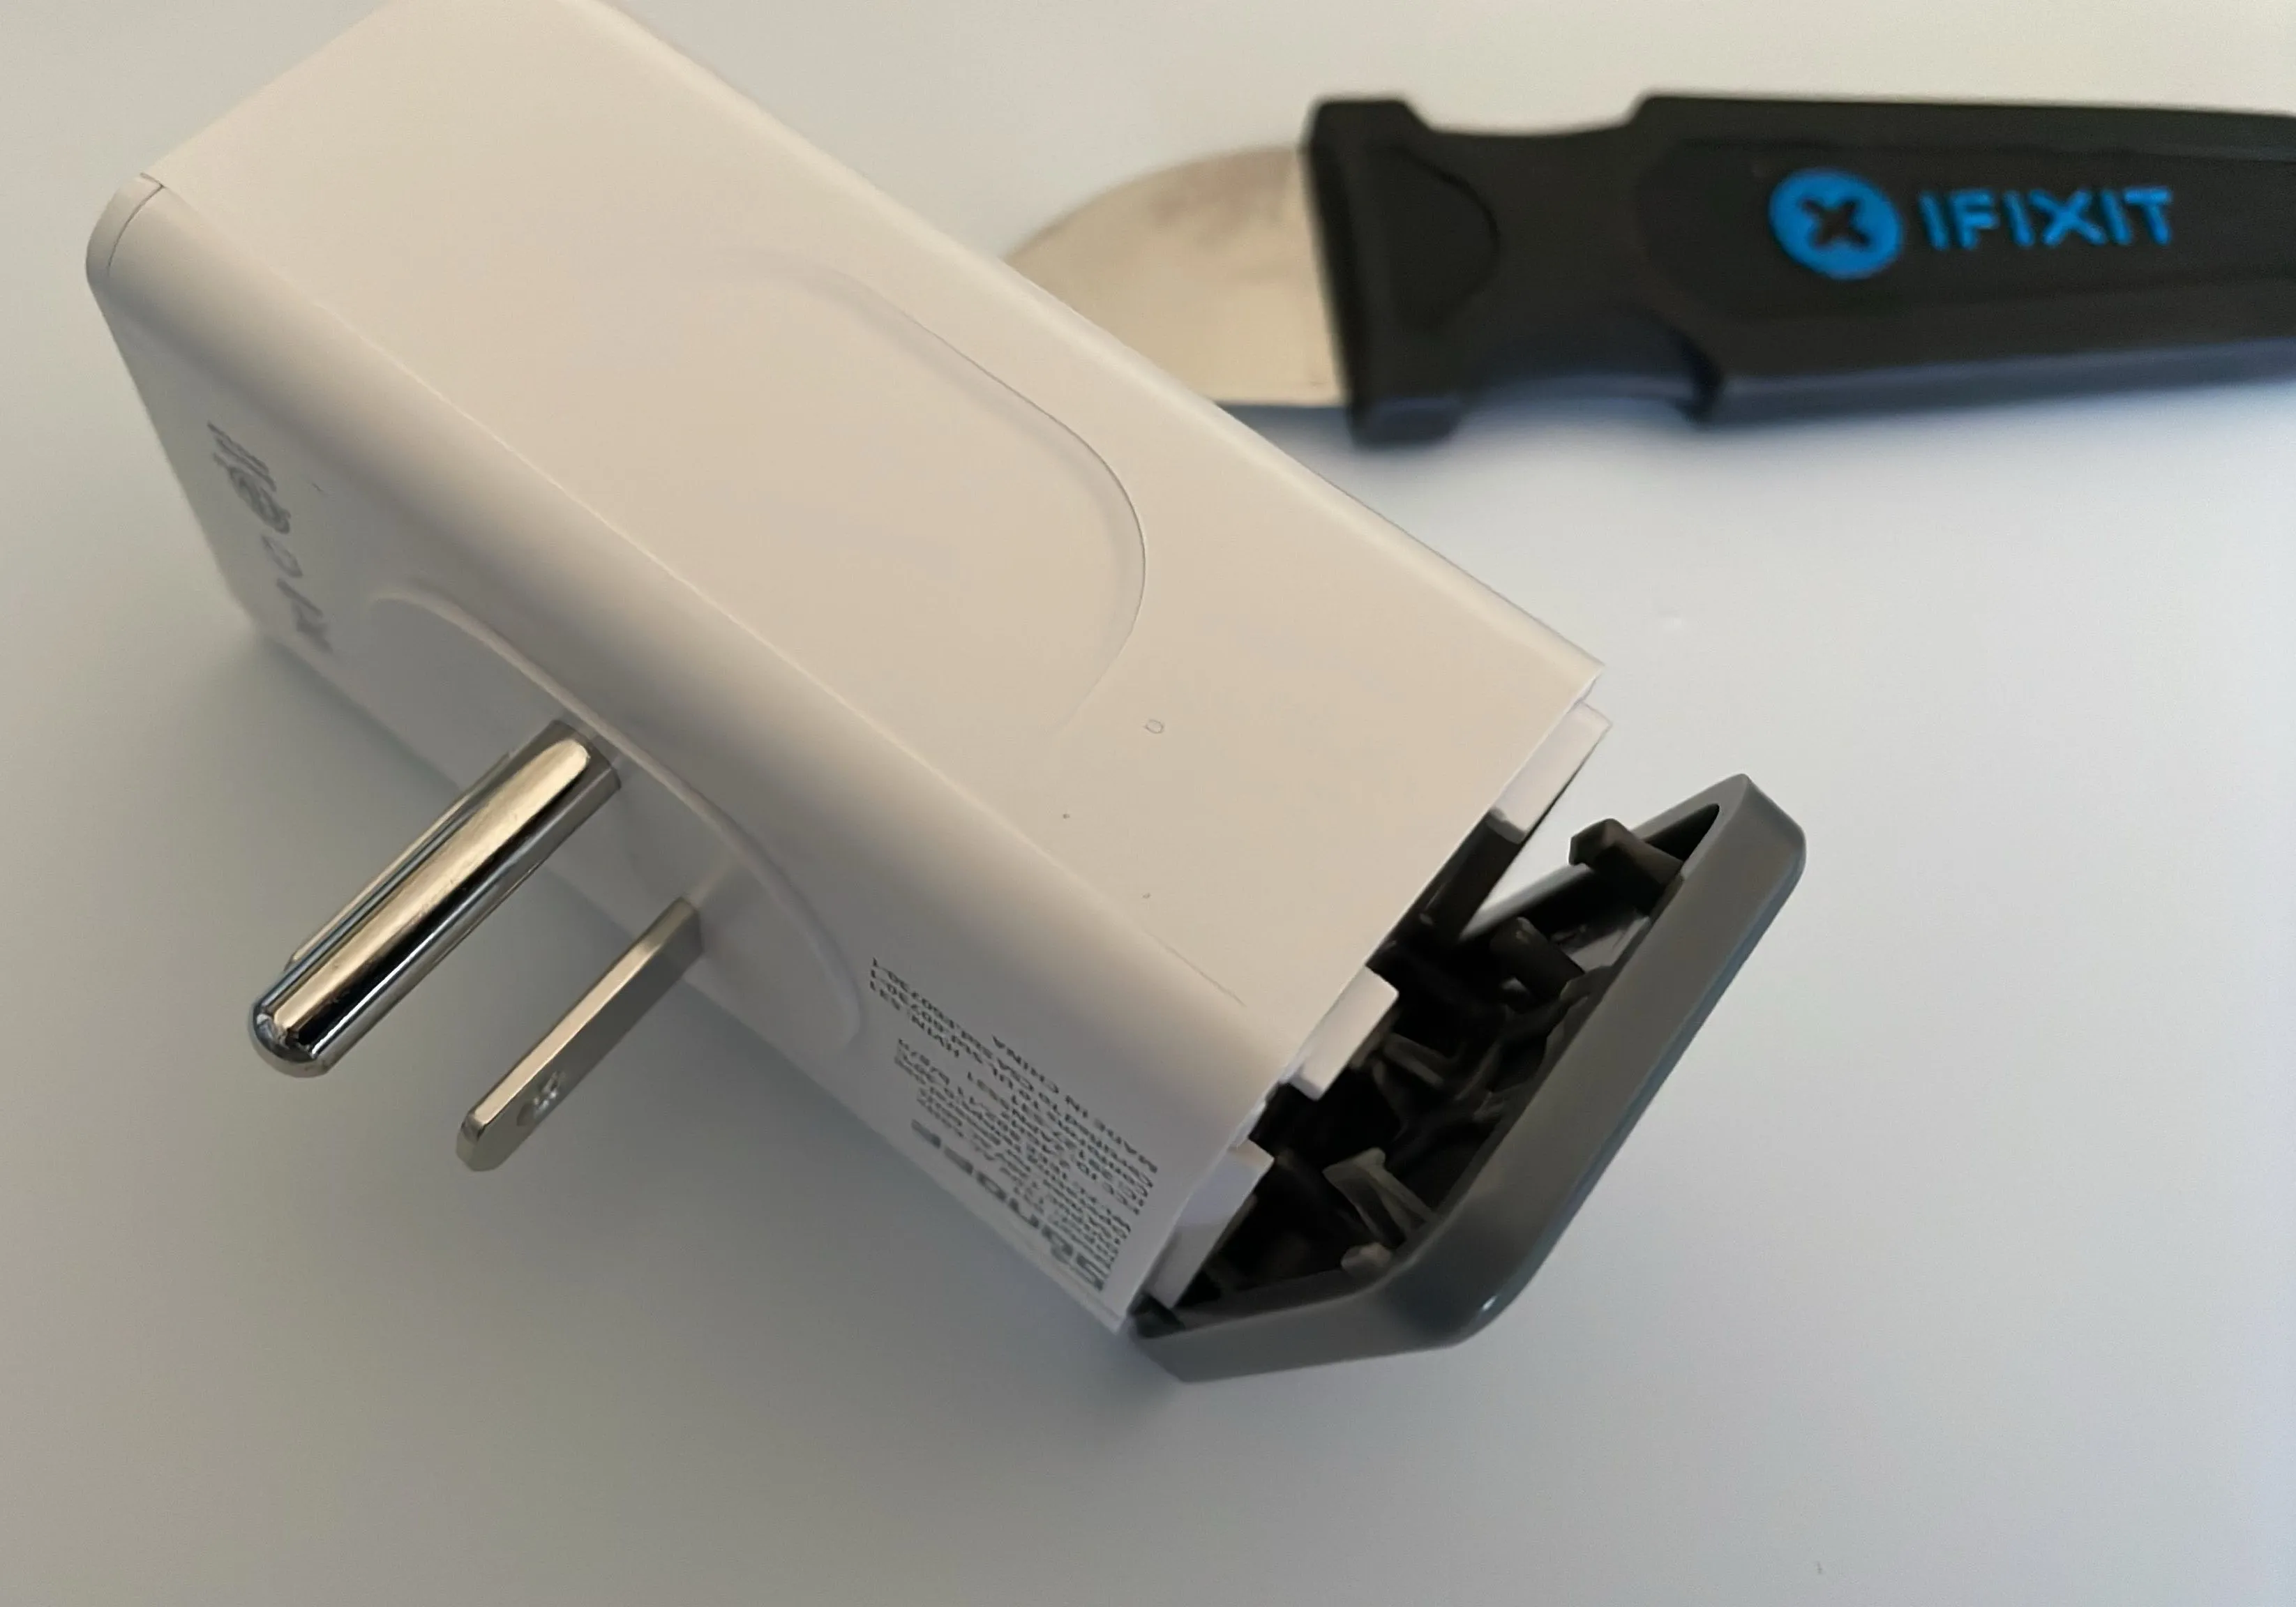
The gray end pops should snap off (don’t worry, there are no wires under the gray plastic cap that you may damage). There are two small screw covers that slide off the edges of the back, revealing 3 screws in total.
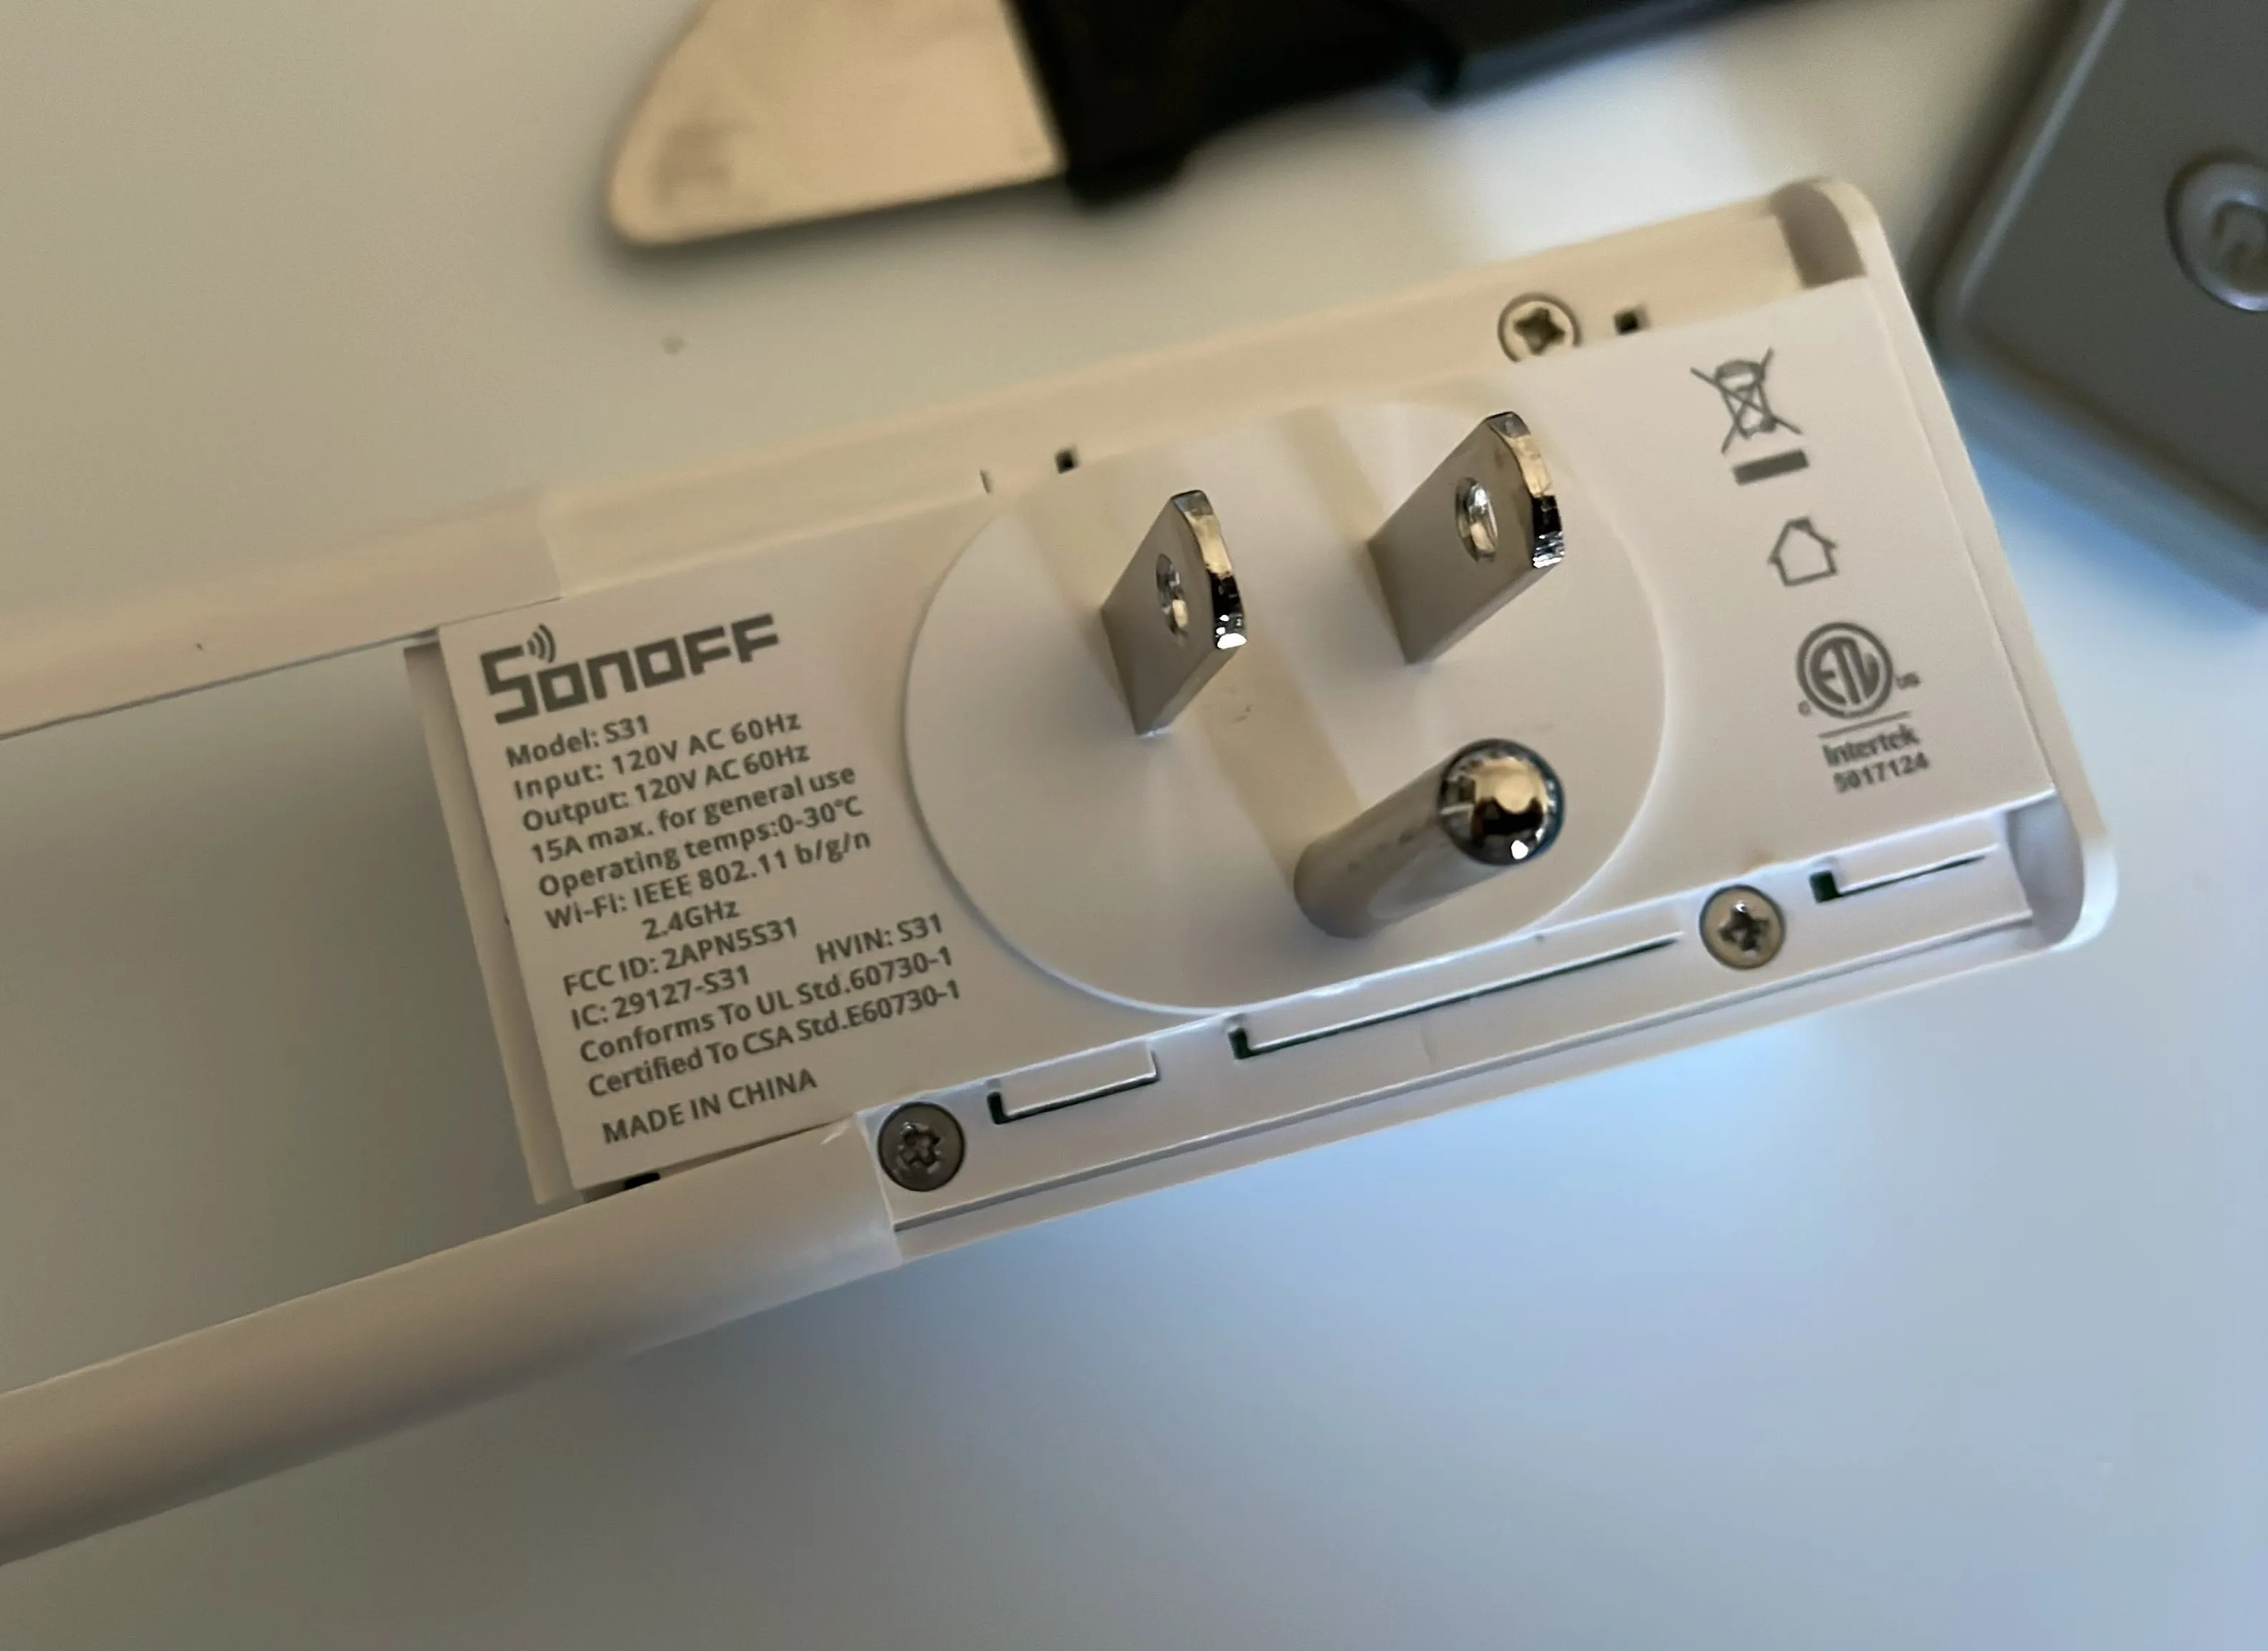
Once you’ve unscrewed those you can pull the separate the two remaining parts of the smart plug. You’ll be left with a plastic piece (the front) and all of the electronics.
Solder-Free Connections
The trick to the solder-free option is to buy an inexpensive set of breadboard jumper wires with test leads, like these Goupchn Test Hooks. The linked option is exactly what I bought and used. They worked like a champ.
Now, you’ll also need a way to get the flash the binary over USB. I bought and used the Moyina USB to TTL/Serial adapter.
Make sure that the switch on the device is set to 3.3V. Failure to make this change is likely to permanently damage the S31 rendering it e-waste.
Next connect to the serial adapter the following:
- VCC
- GND
- TXD
- RXD
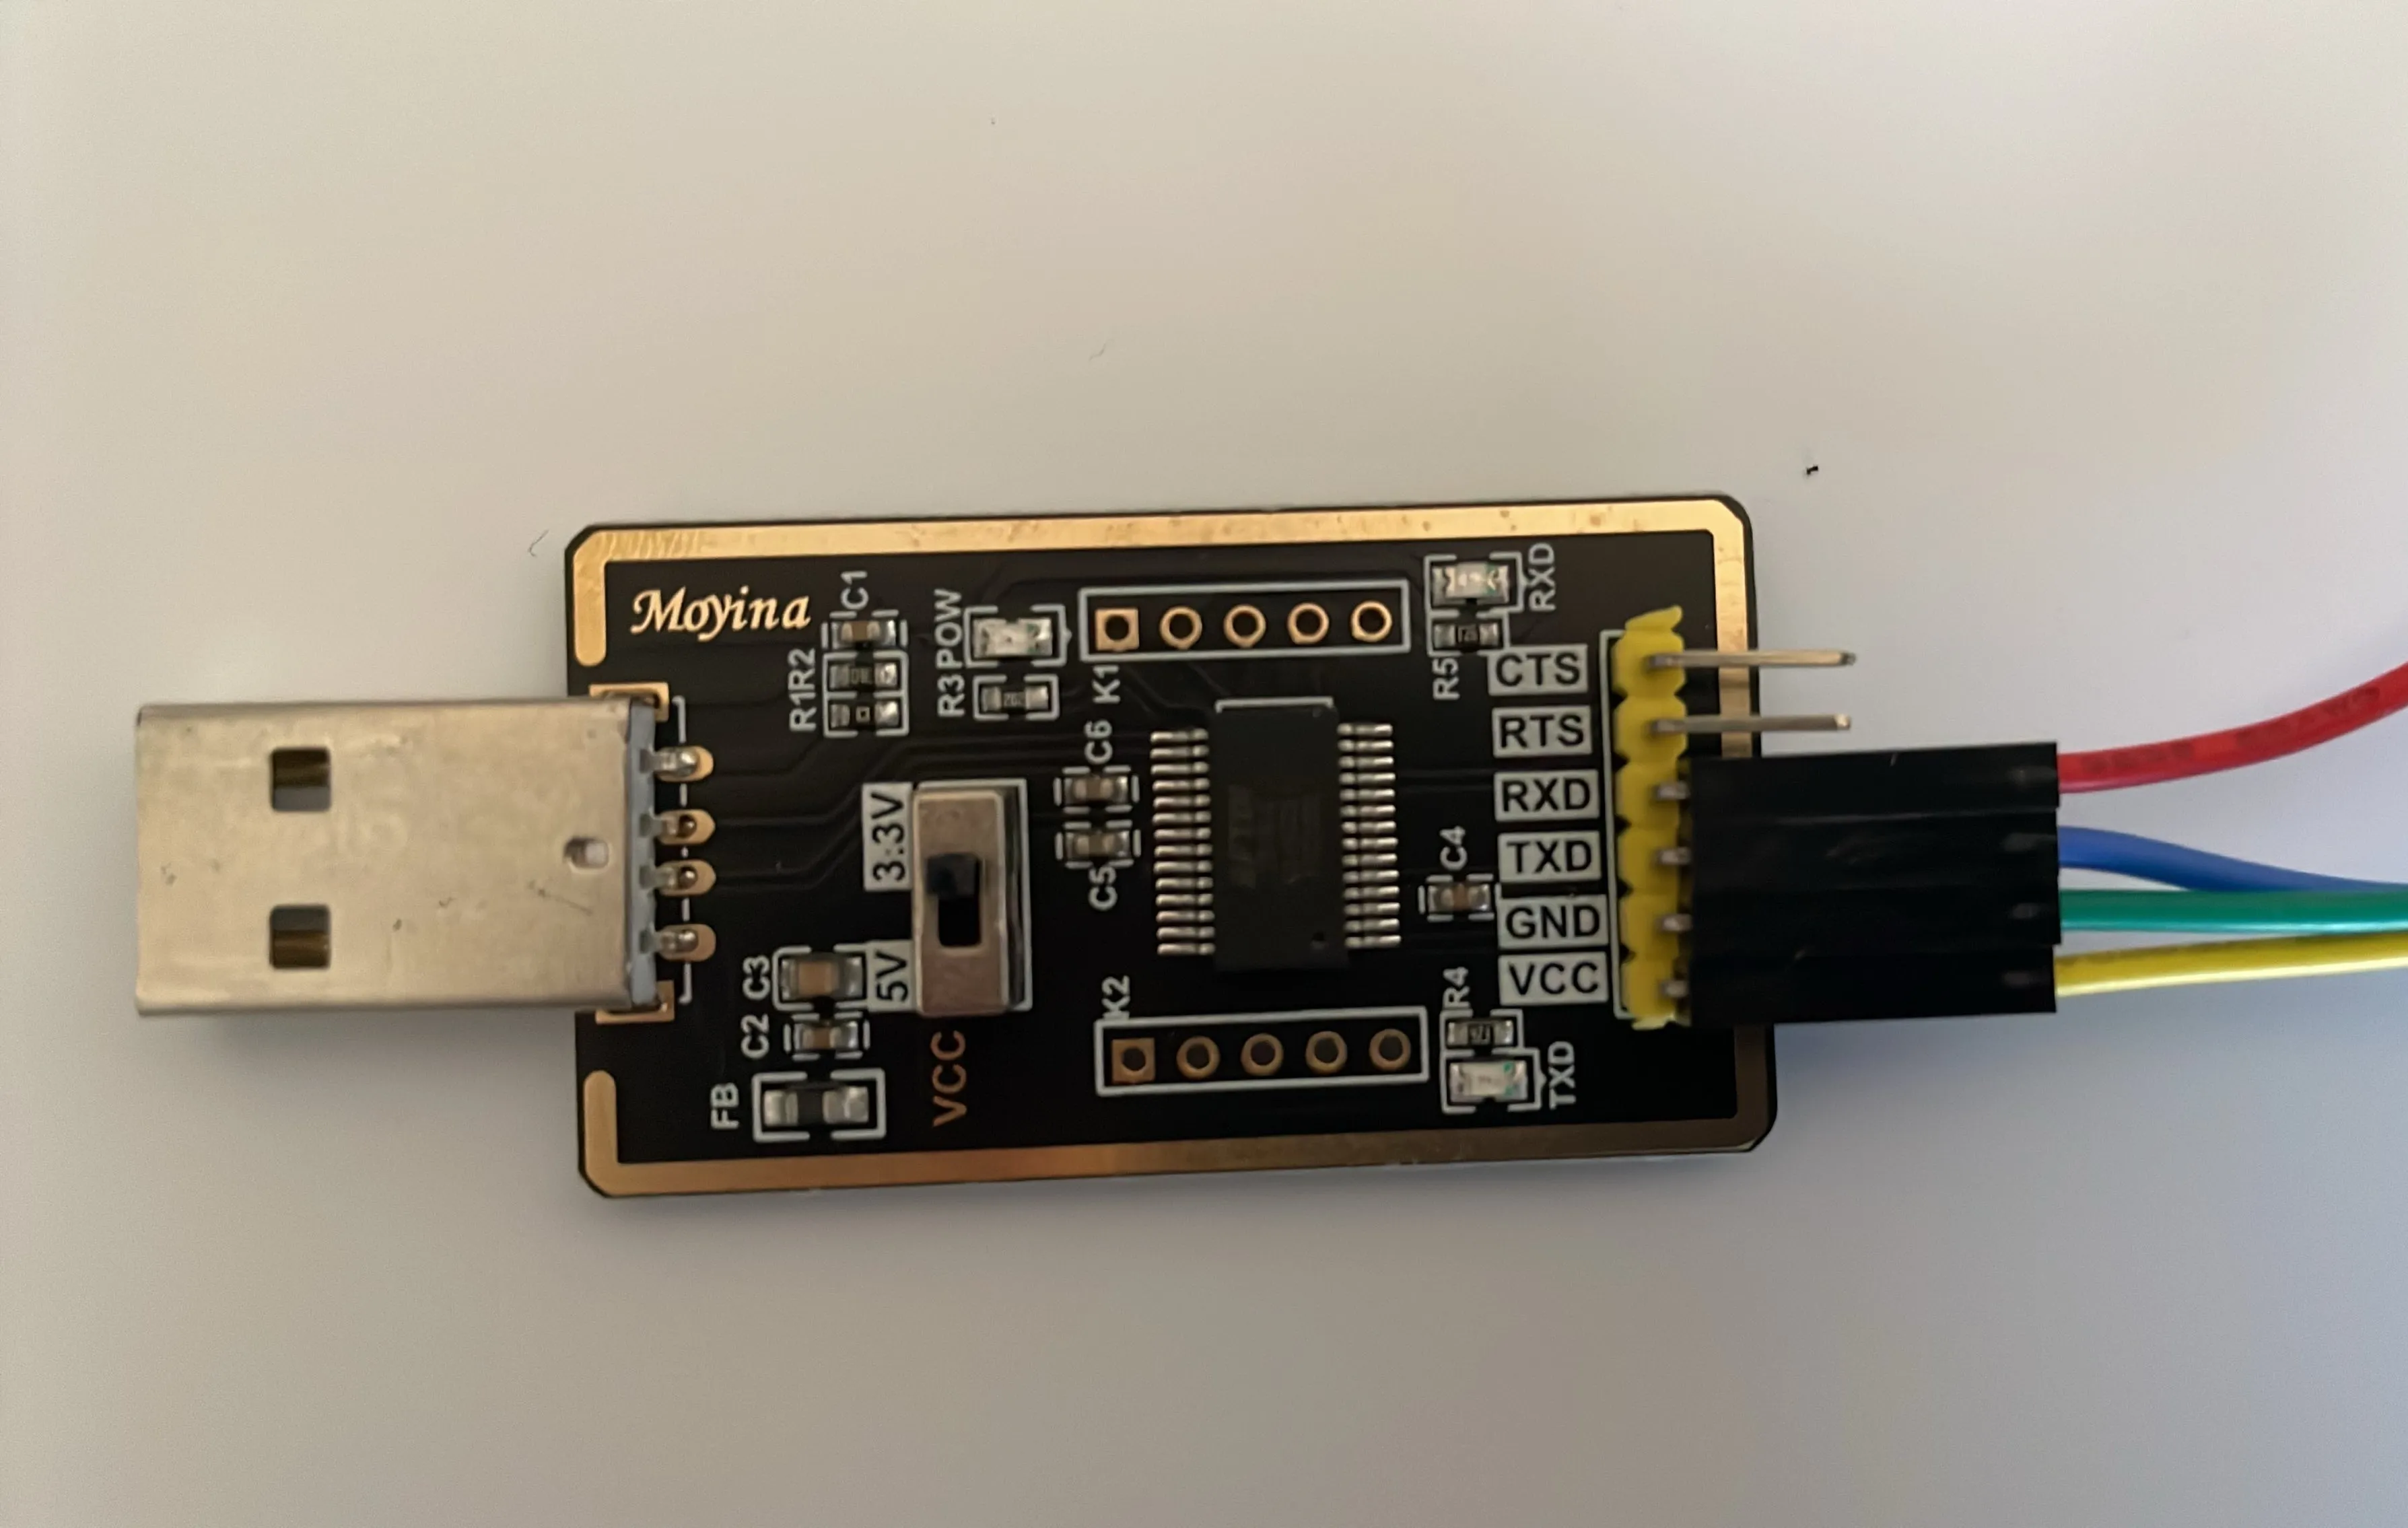
The colors I selected don’t mean anything specifically, just be certain you’ve made the correct connections (I’ve shown them in the diagram below connected to the corresponding pad and pin).
Now, using the test hooks on the Sonoff S31, you’ll connect:
- USB VCC -> S31 VCC
- USB GND -> S31 GND
- USB TXD -> S31 RX
- USB RXD -> S31 TX
Note that the USB adapter TXD is connected to the RX on the Sonoff and the RXD on the USB adapter is connected to the TX on the Sonoff. (TX = Transmit and RX = receive — makes sense that the devices can transmit and receive signals/data bidirectionally).
There are 6 solder pads on the S31. Nothing will be connected to the 2 pads directly next to the GND pad. Do not connect the USB adapter to the D-RX or D-TX pads on the S31.
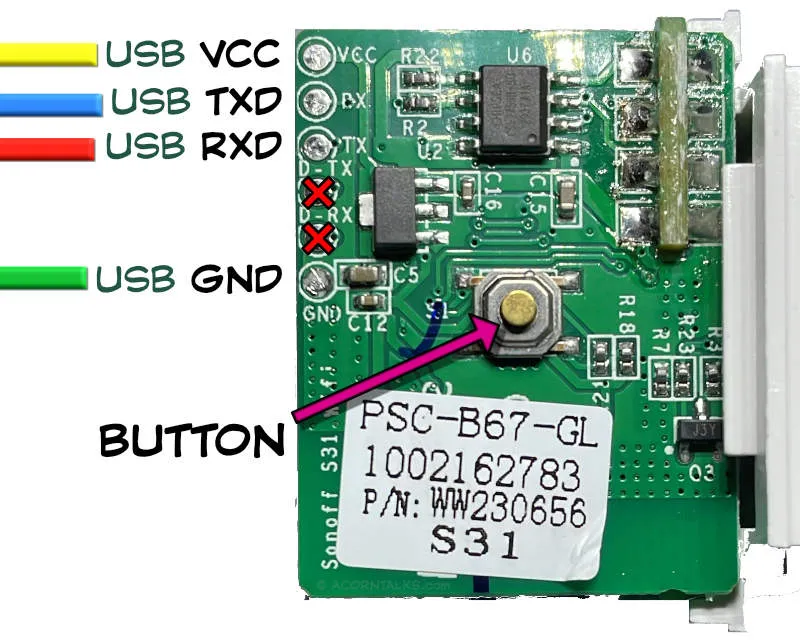
It’s a tight fit to get the 4 test hooks onto the pads, but with a bit of patience, they hold firmly. Before you plug the USB adapter into power (your computer/laptop), double and triple check that the hooks are connected to the correct pads based on the required wiring and that none of the hooks are touching multiple pads. Check once more for safety (don’t rush — you’ll potentially wreck the S31 and or the USB adapter).
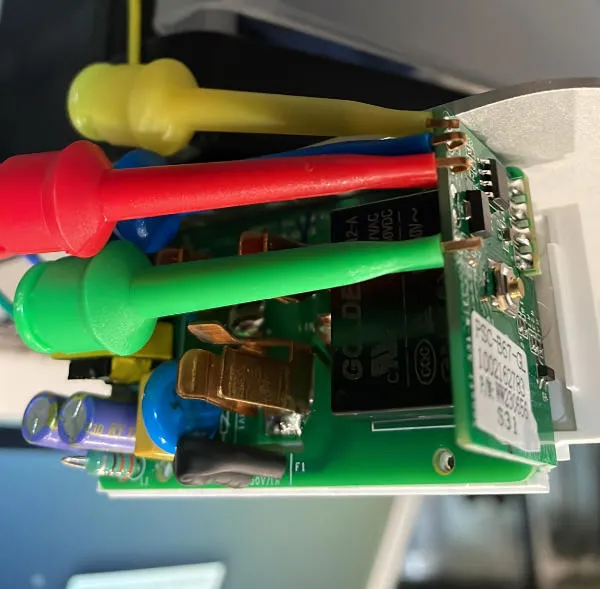
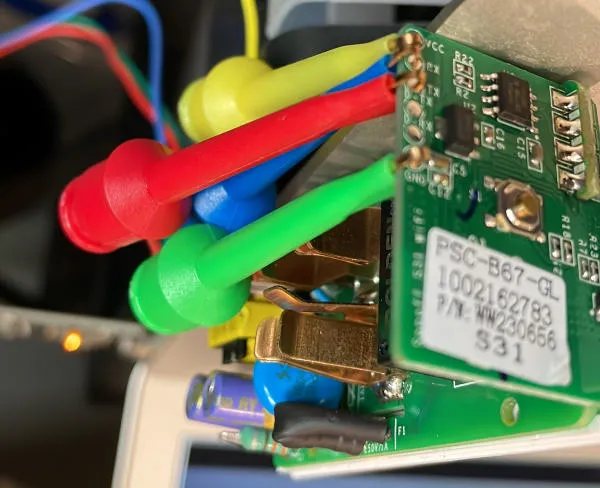
The USB Serial Adapter is at 3.3V, RIGHT?
Also, now’s a great time to confirm that the USB adapter is set to 3.3V. It is right?
Finger Gymnastics
Next up are a few finger twisting moments where you’ll need to hold down the button in the center of the Sonoff S31 board, while carefully not dislodging or moving any of the test leads, AND simultaneously plugging the USB adapter into your computer or laptop (Windows, Linux, or MacOS are supported).
Here’s a simple tip: start to inserting the USB adapter into the device of your choosing, but don’t fully insert it (so that contacts aren’t made and the device isn’t recognized). Then, push the button and slide the USB adapter in the remainder of the way.
You’ll need to hold the button for a long 5 seconds and then you can release as it’s been placed into flash mode. Nothing happens visually on the S31.
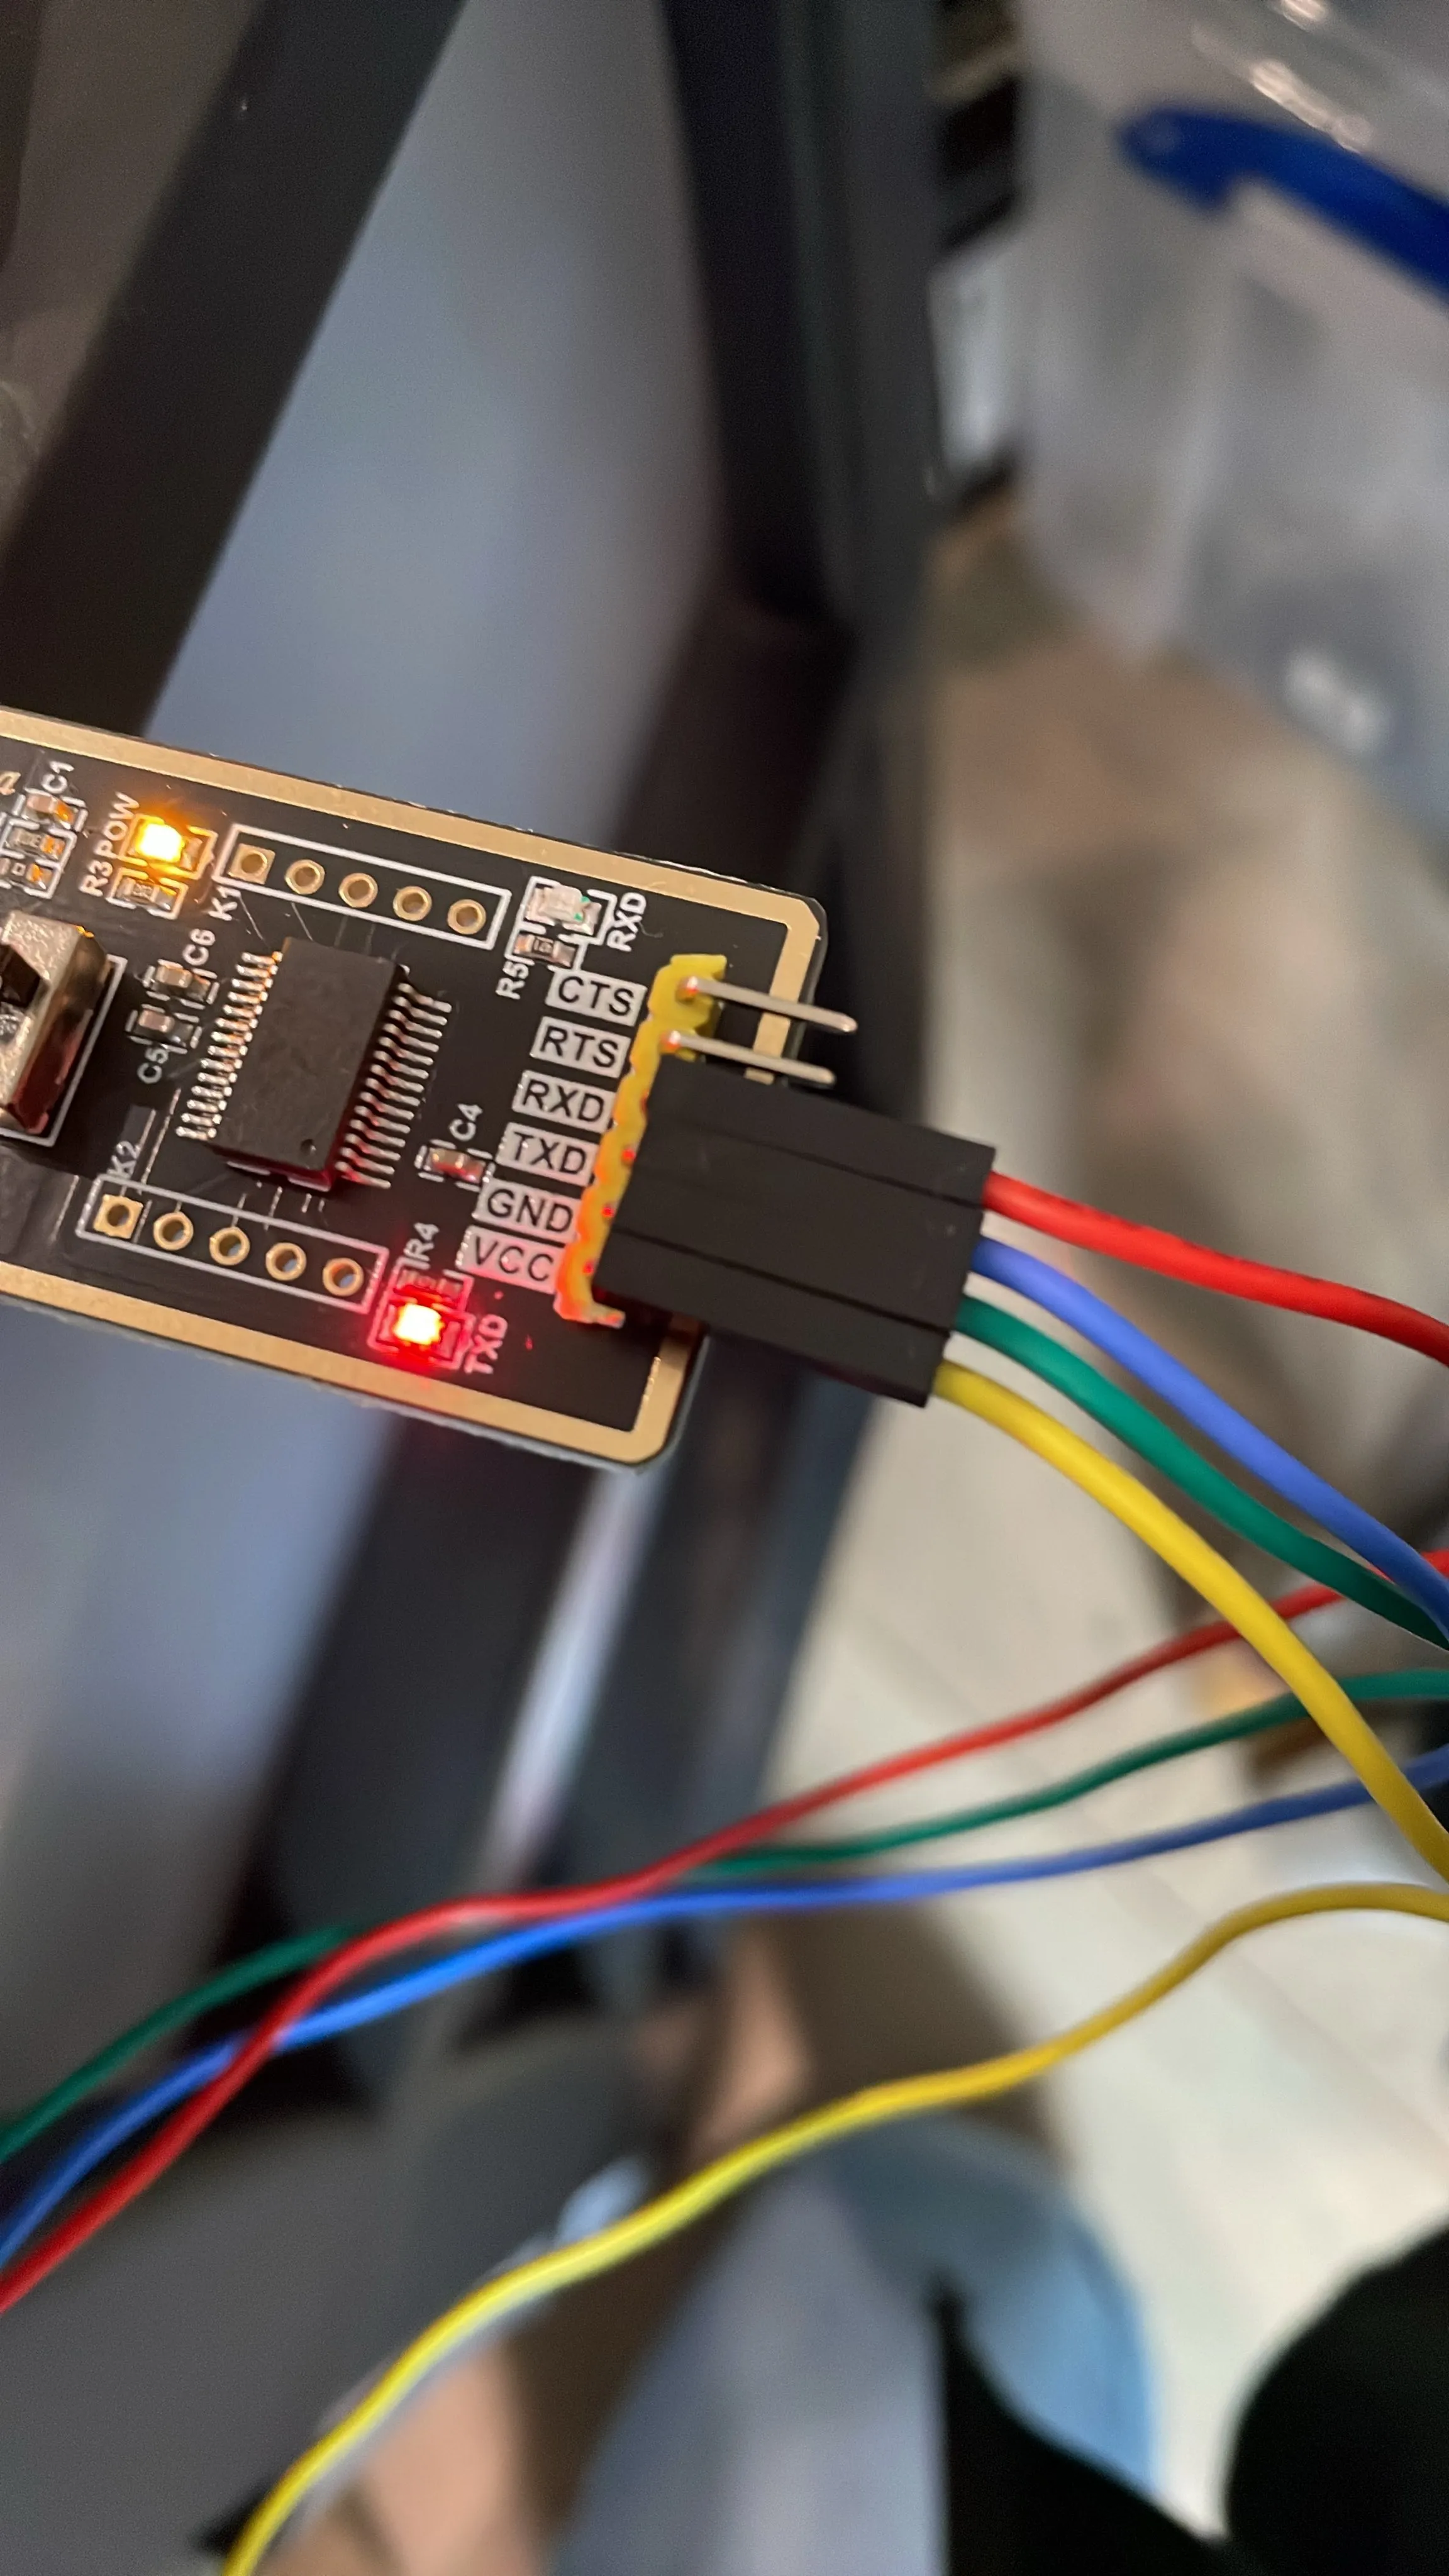
Open a web browser to https://tasmota.github.io/install/.
If everything has gone to plan … when you click the connect button on the page, your Chromium-based browser will ask for permission to access the USB device:
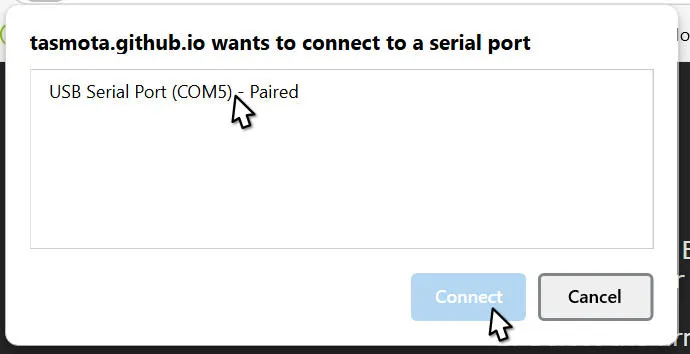
Confirm that the device is correct (the specific COM# may be different for you) by clicking USB Serial Port (COM#) - Paired, then click Connect.
If you’re using a Linux distribution, like Ubuntu, this step may fail. However, it’s fixable by using the terminal and granting permission to the USB port that was selected (when I tried it, the USB port was at the bottom of a long list of possible devices).
sudo setfacl -m u:{USERNAME}:rw /dev/ttyUSB0Substitute {USERNAME} for your current user and ttyUSB0 with the USB device you want to authorize (it will be shown in the device selection popup).
Anyway … the device dashboard is next … select INSTALL TASMOTA:
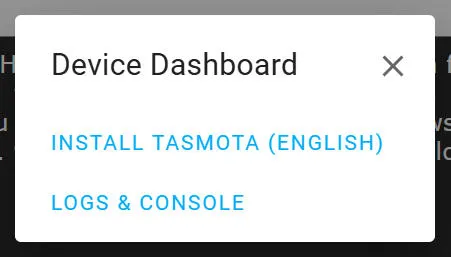
Warning — this will erase the device completely.
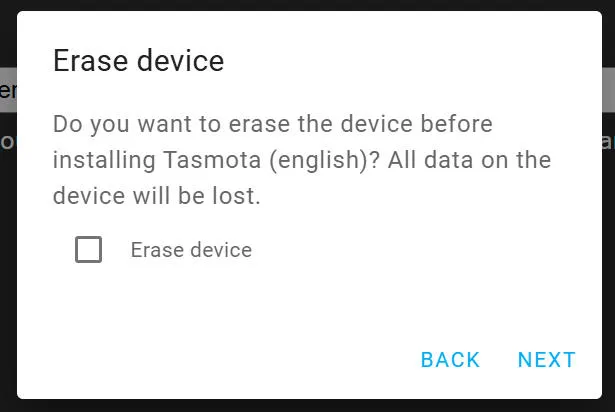
Select Erase Device and click Next.
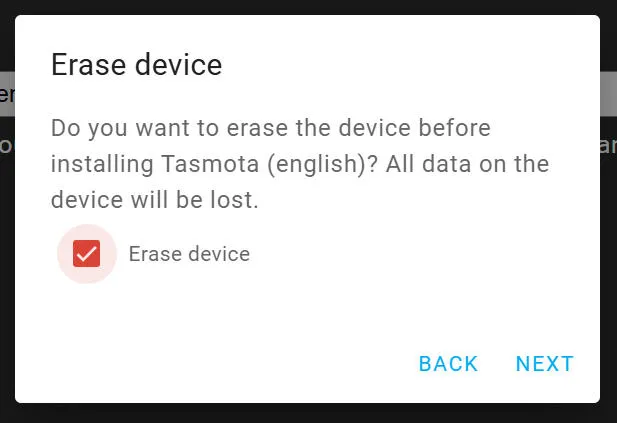
Confirm your intention again and click Install:
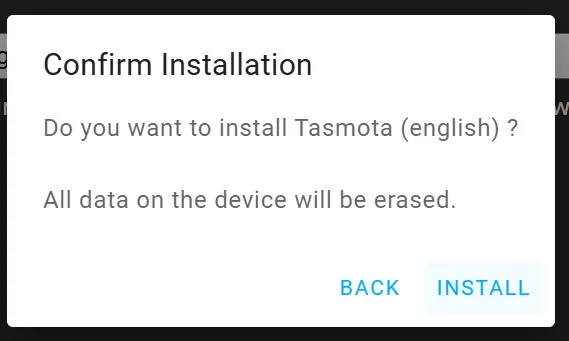
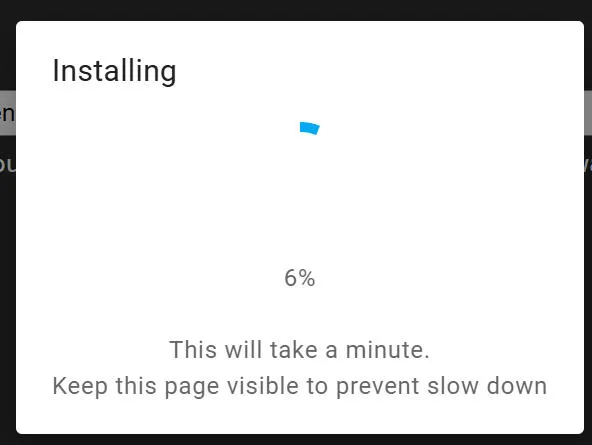
Now wait a while. Stretch. It takes no more than a minute or two. Don’t touch the device at this point.
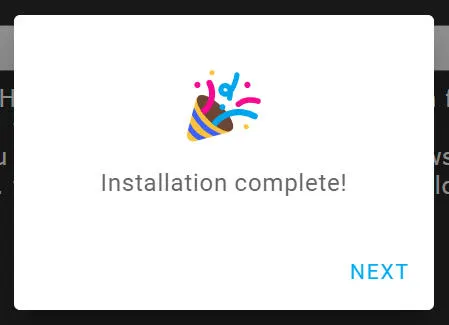
Then, the moment you’ve waited for … it’s installed!
WiFi Configuration Step
Now, you’re not quite done. Some devices will automatically launch into the configuration for the device, but it doesn’t appear to happen for the S31s.
Gently unplug the USB adapter without disconnecting any of the cables. You won’t need to remove it fully from the USB socket though. Wait a few seconds and push it back in.
After 5-10 seconds, check for a new access point via WiFi. Mine looked like this:

Select the appropriate WiFi. Now, through seemingly mystical … luck …, your web browser may automatically connect to the Tasmota configuration web app. Or it may not right away. But, my Chromimum based browser did every time for me, eventually. If it’s not working, you’ll need to see what the IP address range it assigned to your computer is — mine was 192.168.4.### and the gateway was 192.168.4.1. From the browser, I could have navigated to http://192.168.4.1 manually. But, as I said, the browser did automatically.
On the main screen:
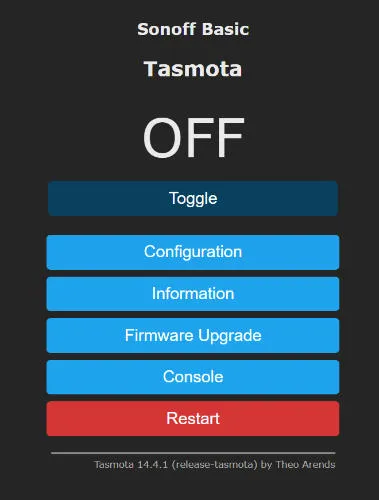
Then Wifi:
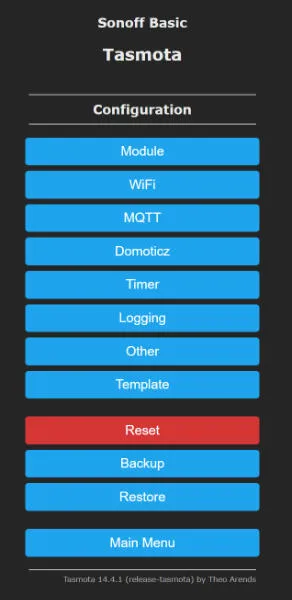
Then fill in your WiFi Information:
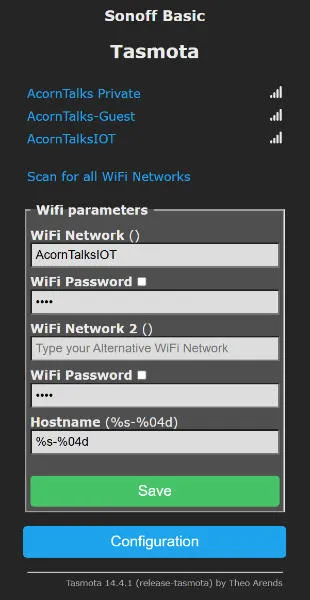
When you click Save, the device will reboot and provide the new IP address you’ll need to connect to (assuming the connection was successful and DHCP is doing its thing correctly!):
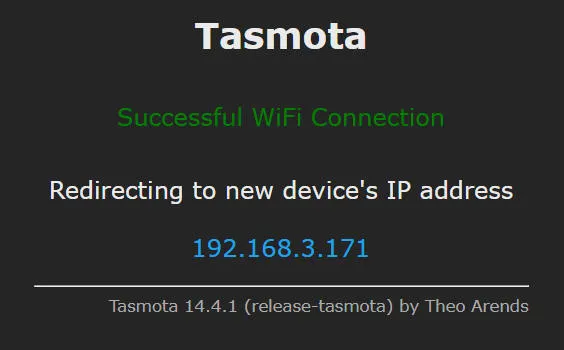
Once your computer has disconnected from the temporary access point, the S31 will be available on your chosen WiFi network at the IP address shown.
Celebrate.
Reassemble
Reassemble the S31 by putting the two halves back together, putting in the 3 screws, sliding the corner pieces back on, and carefully snapping the gray plastic end piece back on. Be careful to align the gray plastic piece properly and it’s likely it will need a firm push and maybe a second push for good measure before it snaps back into place. There are two alignment pegs that prevent it from being installed in the wrong orientation.
One More thing
From the configuration menu of the Tasmota, select Module and choose the Sonoff S31 (41) from the drop down menu. If you don’t do this, you’ll still have a basic working smart plug, but you’ll not be able to see the current power usage and energy totals. I’m not sure if there’s a sort to the list — for me it was 11 from the start of the list. 🤷♂️
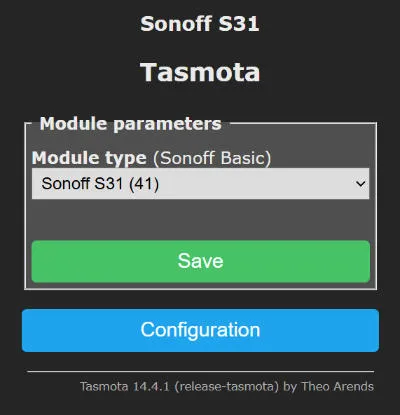
If you’re going to connect it to Home Assistant with MQTT … well, that’s a topic for another post.
Hi! Before you go...🙏
I really appreciate you stopping by and reading my blog!
You might not know that each Epic blog post takes me several hours to write and edit.
If you could help me by using my Amazon affiliate links, it would further encourage me to write these stories for you (and help justify the time spent). As always, the links don't add cost to the purchase you're making, I'll just get a little something from Amazon as a thanks.
I'll occasionally write a blog post with a recommendation and I've also added a page dedicated to some of my more well-liked things. While you can buy something I've recommended, you can also just jump to Amazon and make a purchase. Thanks again!
